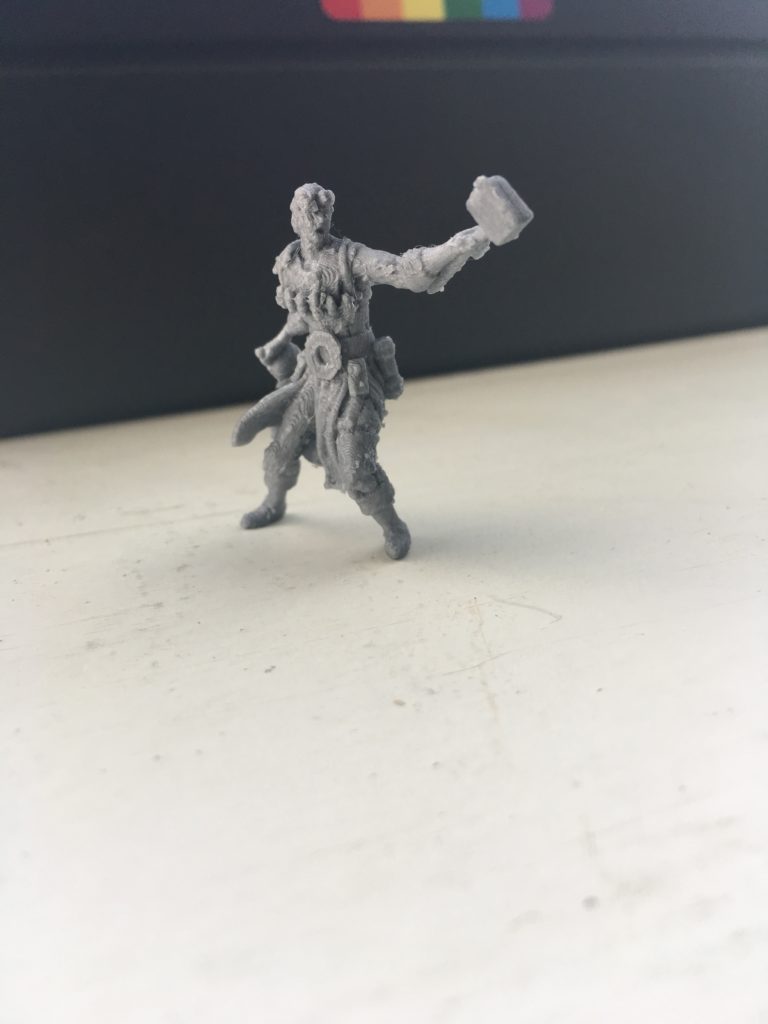
TL;DR: Scroll down to the first picture if you just want to get into the nuts and bolts of my Ender 3 setup teething issues..
I resisted getting a 3D printer for a long while, because the cost vs potential use cases/fun ratio seemed poor. I also had access to 3D printers at my hackspace (https://mkmakerspace.co.uk/) – so why would I need my own?
The amount of fettling that most of the people at the hackspace seemed to do to their machines was also pretty off-putting. I gave up doing hardware and even OS support (plus hosting mail servers in my living room, Linux in any form, etc etc) many years ago, because fettling is ANNOYINGGGGG. I want things to Just Work. I writes the codes and it just works, precioussss.
However. This is a bit of a digression, but bear with me. However.. Arduinos, Raspberry Pi, Beaglebone et al. Cheap home electronics, widely available. So many blinkenlights. It drew me in. Ah, computing like it’s 1999. Config files. Library issues. It’s even worse now.. But also, so much better! It’s exciting and wide and annoying as all hell. So you have all these projects and sensors dangling on bits of wires and every project is a horrific Frankenstein’s monster. Enter.. the 3D printer! Theoretically!
Whilst one of our members, Jim, very helpfully ran a class at the Hackspace on Fusion 360, I still wasn’t managing to really get into it. Migraines mean that driving to Hackspace is not always a thing, and 3d printing takes so long you have to be around for ages to get anything done. I decided that if I was going to iterate designs and get to grips with this 3d malarkey, the only way forward was to have one at home.
Enter, the Creality Ender 3 3D printer. At £150-185, depending on how long you were prepared to wait for it, it seemed the price presented a comparatively low bar to entry, with really good reviews all over.

I bought mine from Amazon in the end, because I’m impatient and I wanted to be able to return it easily if there was anything wrong. In terms of direct support though, it would probably be best to buy direct from Creality.
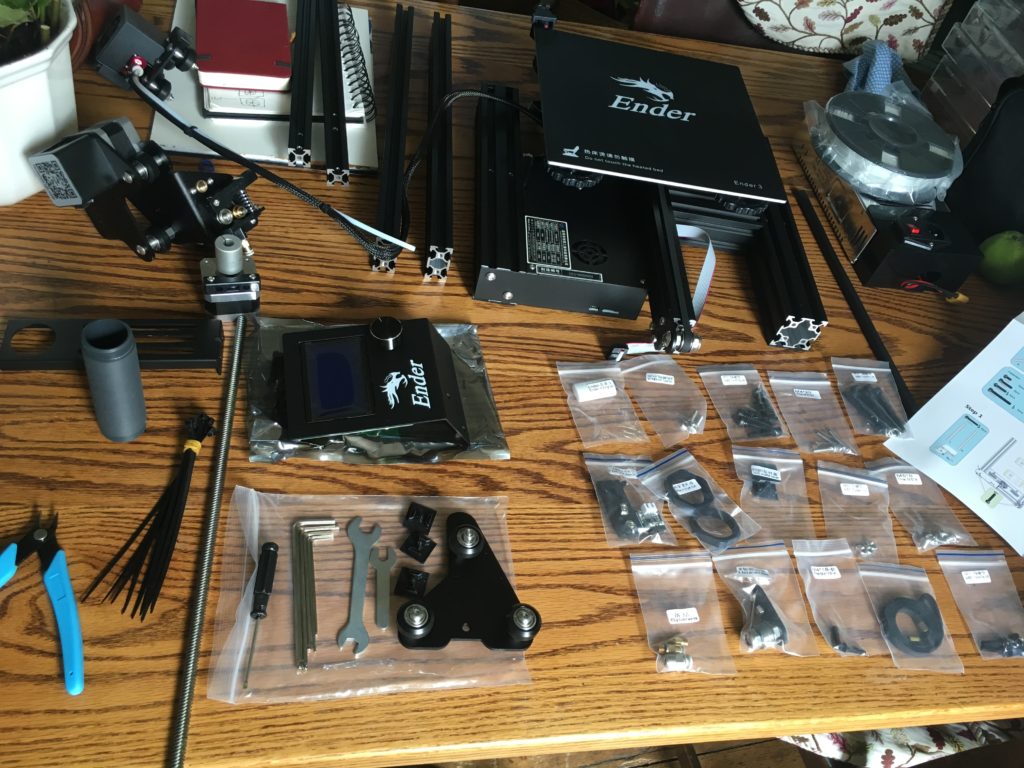
It comes partially pre-assembled, and while putting it together wasn’t quite the 10 minute task they specified, I think it took me a bit over an hour of slightly post-migraine addled fiddling to get it together and doing a first test print. Pretty good.
First suggestion. Watch this very short video https://www.youtube.com/watch?v=bG0jknq_pNQ of the assembly process. It might be my migrained brain, but the parts orientation wasn’t that obvious from the step 1.. step 12 leaflet included.
Second. Once you’ve put it all together, see if it seems square and solid. If not, undo all the main frame bolts a couple of turns (not undone, just loosened), straighten it all up, and tighten it down again. Mine got a bit warped during assembly somehow.
Third. My printer wouldn’t extrude very well. It turns out it seemed to have some sort of higher temp filament stuck in the nozzle – I turned up the pre-heating nozzle temp to 240-ish and pushed through some filament, and that seemed to clear the blockage.
ALSO – IF YOU RUN THROUGH A RAINSTORM TO YOUR WORKSHOP WITH THE PRINTER DO NOT ASSUME THE BED IS STILL LEVEL, IDIOT.
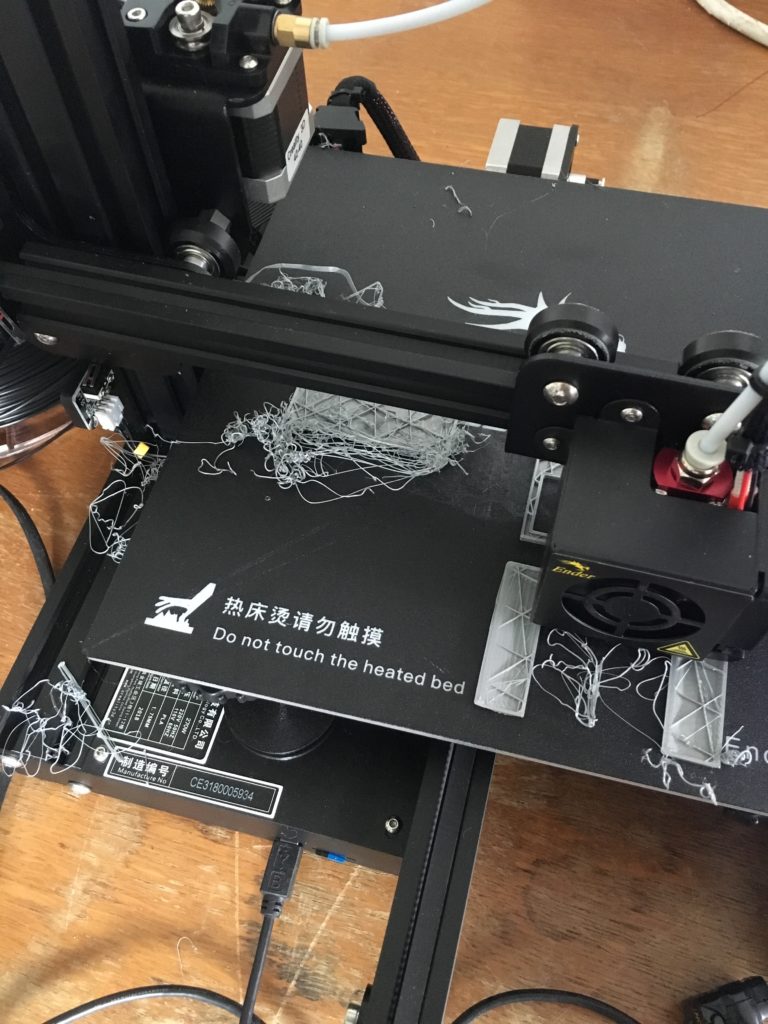
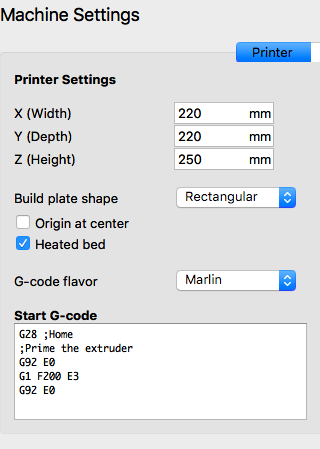
Fourth, while the instructions say to use the CR-10 printer settings in Cura, I found that this line:
G1 Z15.0 F6000 ;Move the platform down 15mm
appeared to make the extruder try and go through the bed, dragged around on the bed scratching it up, and generally behave like a very bad drunk. I deleted it and it was all good.
Last, while the piece of paper bed levelling isn’t a bad start, using something like these tests will really get your level dialled in nicely.
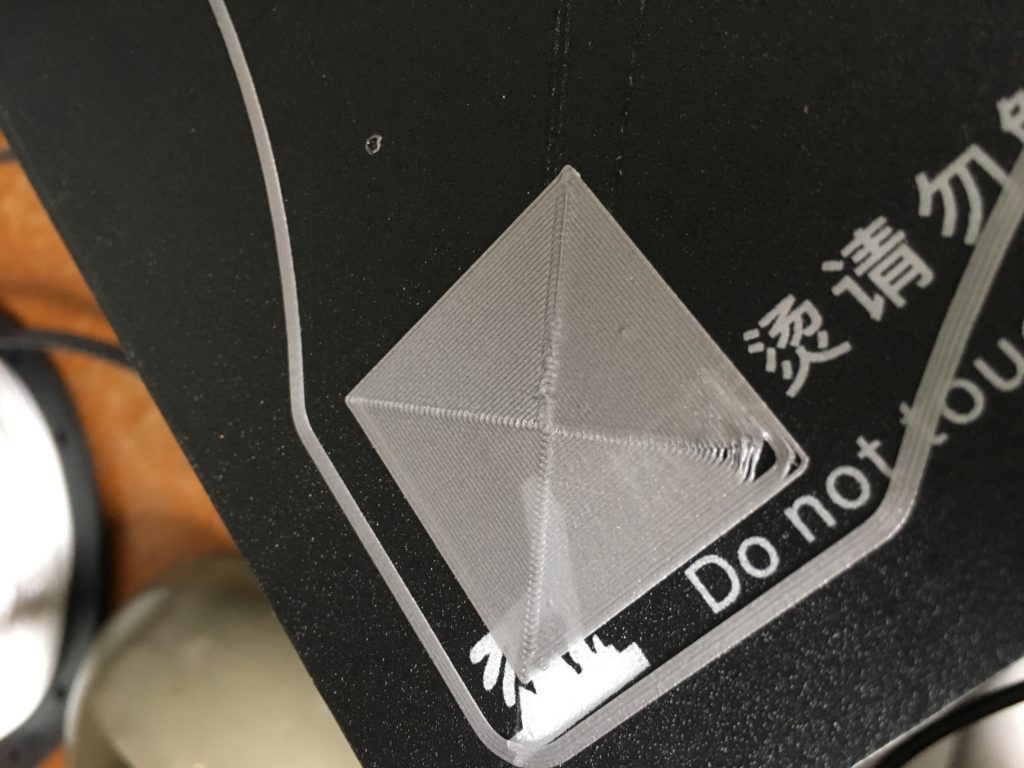
Ender 3 Level Test – thingiverse
